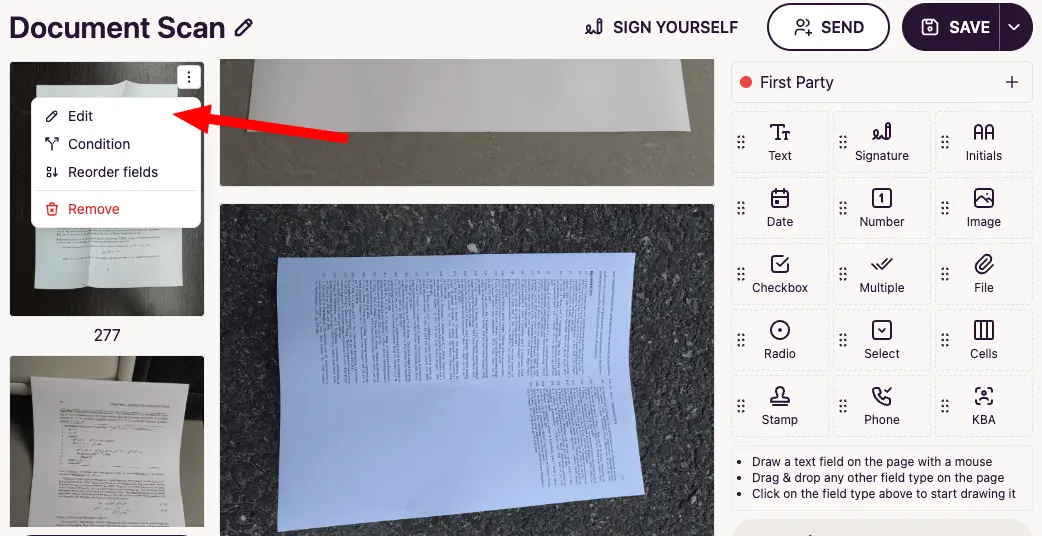
Convert photos to a scanned document
Capture photos of your paper documents with a phone or camera and turn them into clean, scanned PDF pages right inside DocuSeal. DocuSeal automatically detects the page edges, straightens the perspective, and optimizes each photo into a high-contrast document scan that’s ready to send for digital signature.
To convert photos into a scanned document:
- Create a new template and upload your document photos the same way you would upload a PDF. Drag and drop the image files or select them from your device. Each photo is added as a separate page.
- Click the menu () icon on a photo in the left sidebar and select Edit to open the document editor.
- Group your photos into one or more documents by dragging and dropping the images. Drop the photos that belong to the same document into the same group so they become its pages.
- Hover over a photo and click the Crop icon, or select Crop from the menu on the right. Repeat for each photo you want to scan.
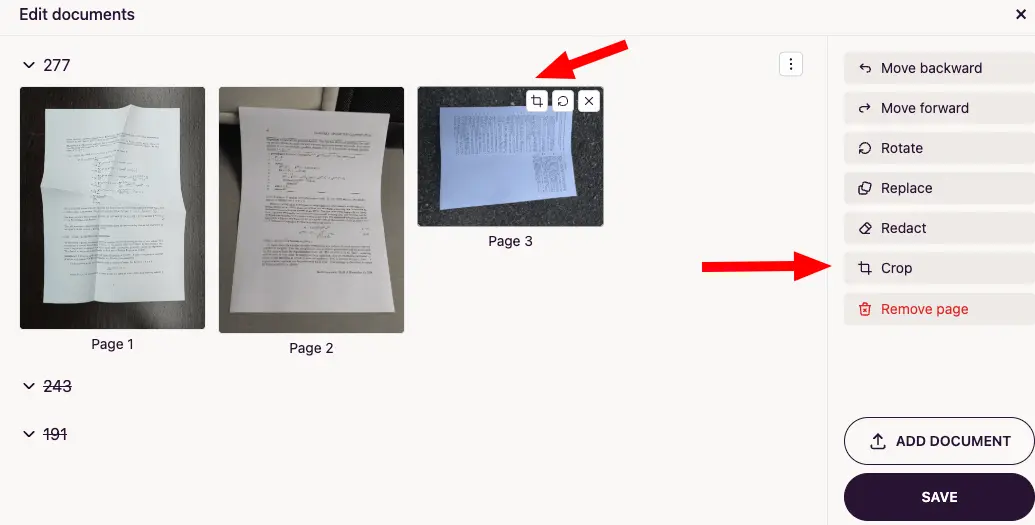
- Make sure the automatically detected page corners are correct. Drag the corner handles to adjust them if needed, then click Crop & Scan. DocuSeal straightens and optimizes the photo into a clean document page.

- Once all photos are cropped and scanned, click the Save button in the bottom-right corner of the document editor to get a scanned and optimized PDF ready to send for signature.